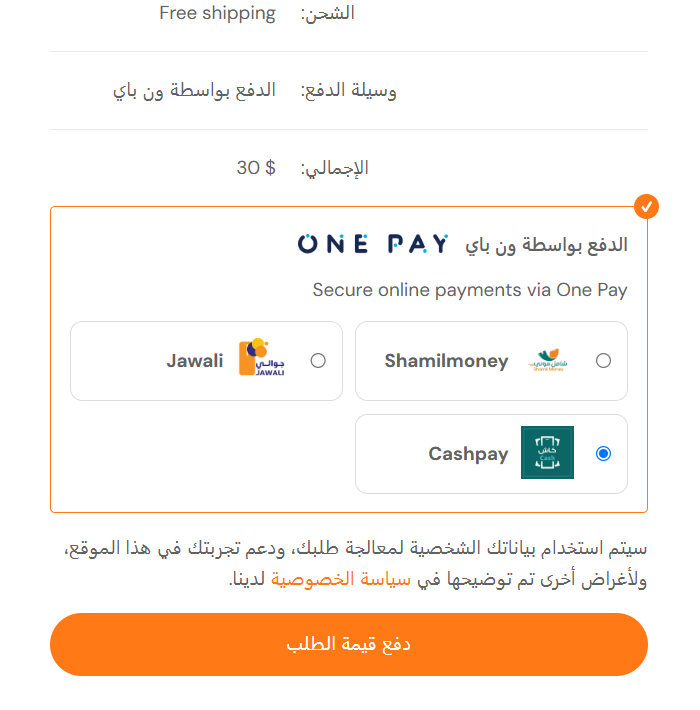



STEP 1
Register for a One pay account and wait for your Merchant account to be activated
STEP 2
From your WordPress dashboard, go to the “Plugins” menu then click “Add New” submenu
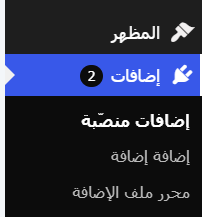

STEP 3
Search for the One Pay plugin for WooCommerce, select the plugin, then click Install
STEP 4
To activate your One pay Checkout plugin, go to your WooCommerce account, select “Settings”, then go to the “Payments” tab

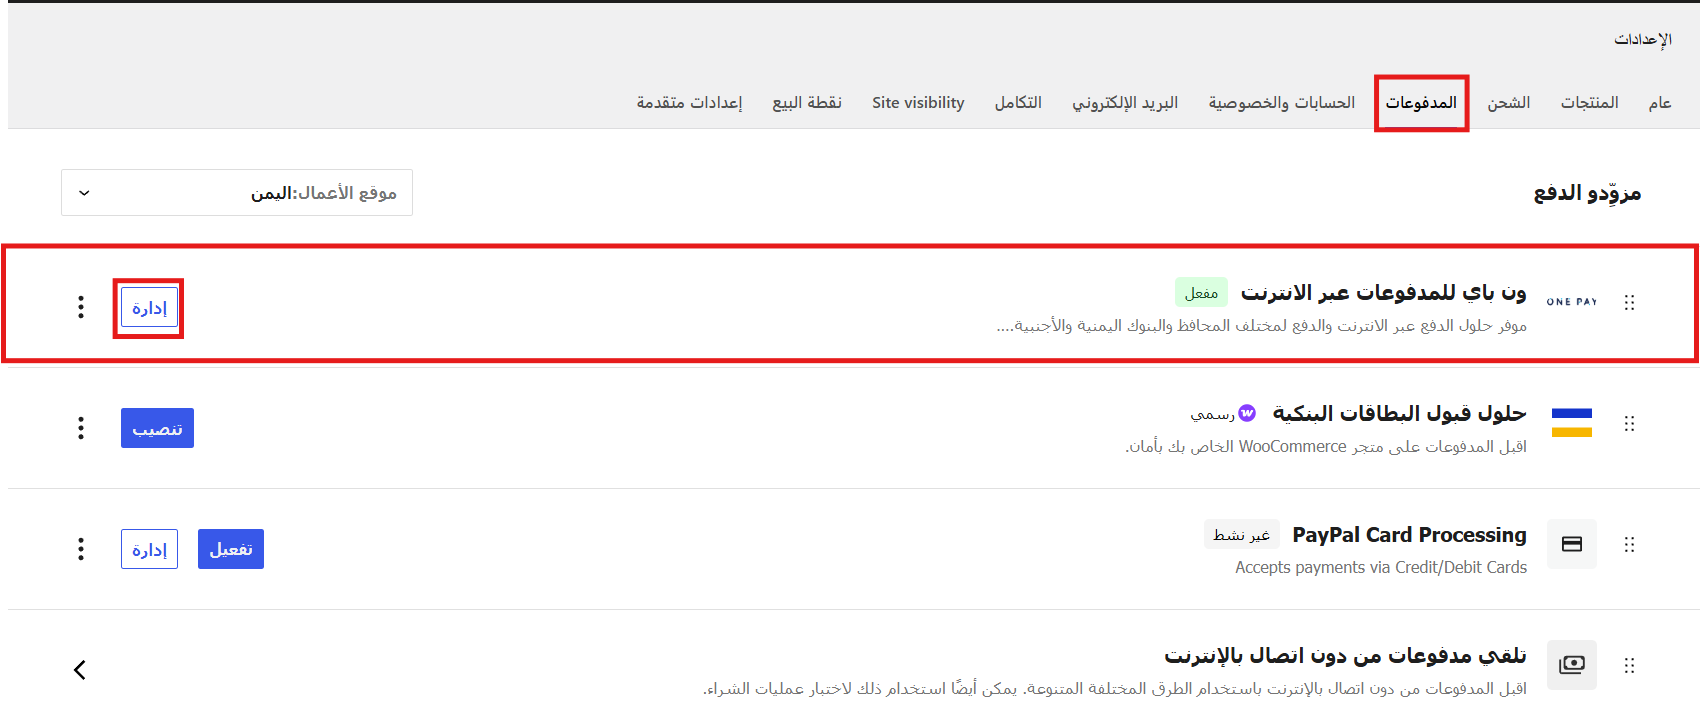
STEP 5
You’ll find the following fields under the “Payments” tab:
| Enable/Disable | Enable One Pay |
|---|---|
| Title |
This controls the title that the user sees during checkout. |
| Description |
This controls the description that the user sees during checkout. |
| API Token |
API Token Key are used to authenticate yourself to One Pay checkout. |
| Merchant ID |
You must copy the merchant code found in your dashboard here. |
| License Key |
After purchasing the product from One Pay, you will receive a license. The API will not work unless it has a valid license. |
| X-OnePay-SDK | |
| X-IP |
Your servers IP address if the IP address changes, you must contact customer service to have it added. |
| X-Origin |
Your websites domain name must not differ from the address you registered when requesting the service. |
| Environment | True Or False |
1. Under the API Keys section on your One Pay dashboard, generate a set of keys for your store. You’ll need one API key.
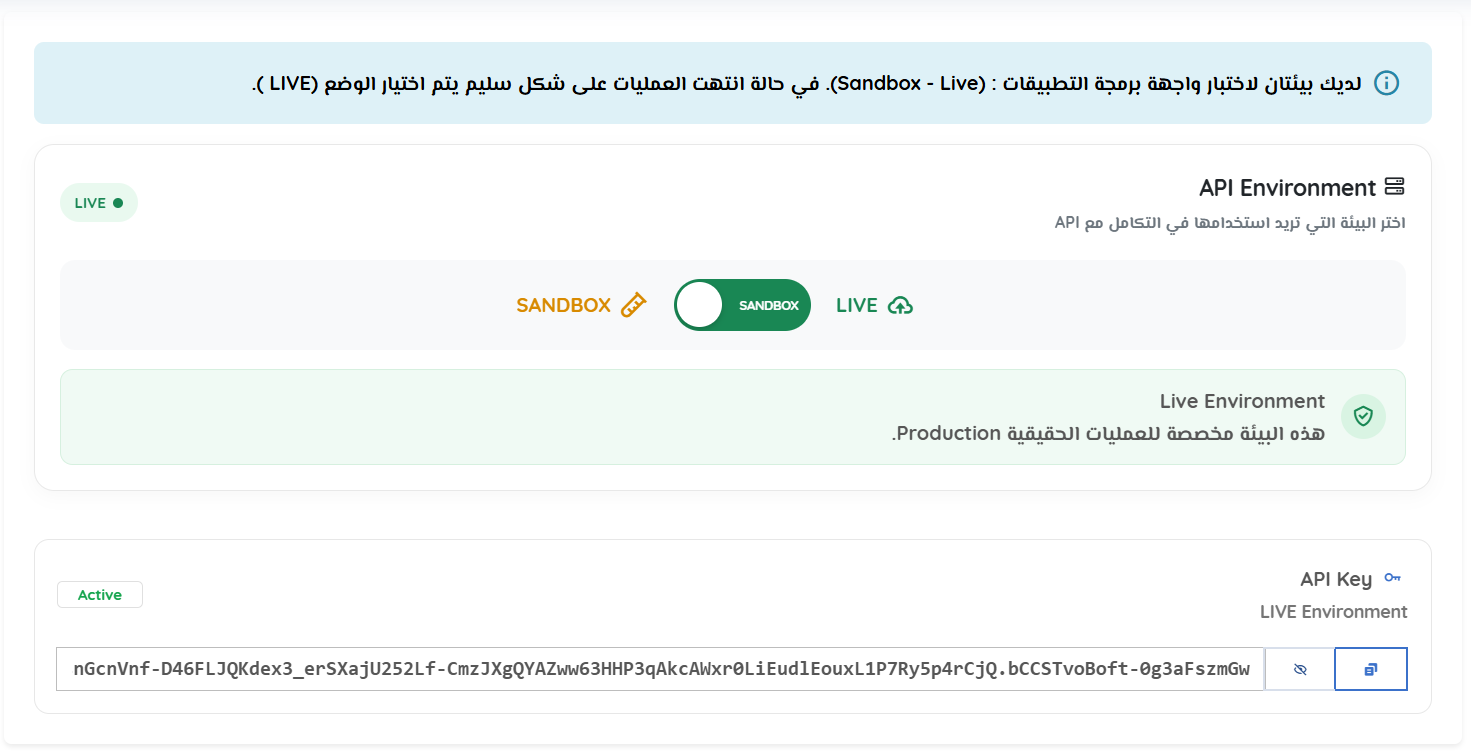
2. Copy and paste both your API Token key into your WooCommerce dashboard as you create them.
*Sandbox mode is optional. It can be used to test the functionality if needed. If you wish to test on Sandbox mode, please make sure you are onboarded onto One pay Sandbox Manager as well. Production credentials will not work on Sandbox mode.
The User Agent of the One Pay payment process
The unique merchant ID is available in the One Pay dashboard.
License
After completing the purchase process for the product, you will receive an email containing all the details of the purchase process with the product license key for a full year.
Note: When purchasing the license key, you will see options including the address of the site or server on which you will install the add-on + the IP address of your server. Please enter them carefully
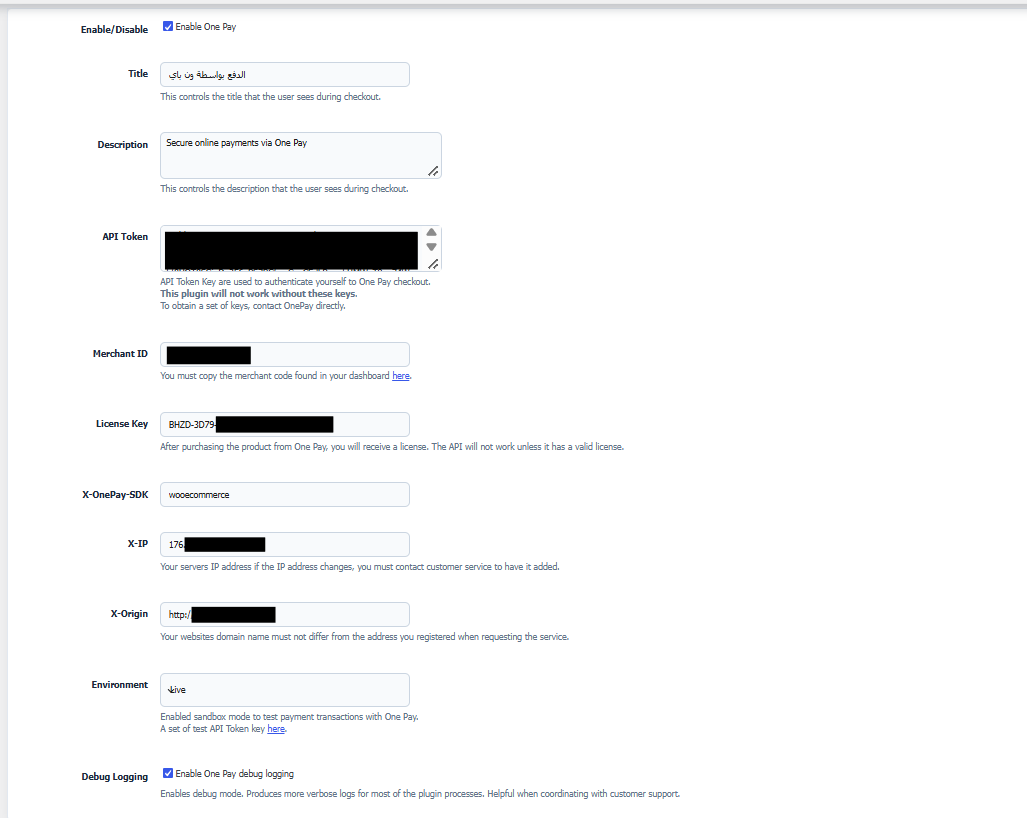
Once all information has been filled-out, click Save changes button to apply the changes in the configuration.
Finally:
When you complete the setup process for the add-on, it will appear as follows on the order completion page, and the available payment methods will also appear according to what you have specified in your control panel as a merchant on One Pay.